Your monstera's new leaf unfurls with silvery streaks. Tiny black specks dot the undersides. Then you spot them: slender, sesame-seed-sized insects that scatter when disturbed.
Thrips.
If you're reading this, you've probably already tried something. Maybe neem oil. Maybe a hydrogen peroxide drench from Reddit. Maybe you're on your third product and wondering why nothing sticks.
Here's the thing most treatment guides skip: thrips aren't just a leaf problem. They're a soil problem. And until you treat both, you're running on a treadmill.
This guide covers everything you need to know to actually eliminate thrips, including eight things you can do today before you buy anything, why most DIY remedies fall short, and how to build a treatment plan that breaks the cycle for good.
What Are Thrips and Why Are They the Worst?
Thrips are slender, cigar-shaped insects about 1-2mm long, ranging from pale yellow to dark brown. They move fast when disturbed (unlike slow-crawling spider mites), and they feed by puncturing plant cells and sucking out the contents. The damage shows up as silvery or bronze streaks with a metallic sheen, often accompanied by tiny black fecal specks on leaf undersides.
But their real superpower is their lifecycle.
Unlike spider mites that spend their entire lives on foliage, thrips split their lifecycle between your leaves and your soil. Late-stage larvae stop feeding, drop from the plant, and burrow into the top inch of your potting mix to pupate. They stay there 2-5 days, completely protected from anything you spray on leaves, before emerging as winged adults.
This soil pupation stage is why thrips outlast most treatment attempts.
You spray your leaves. Watch the visible thrips disappear. Declare victory. A week later, fresh adults emerge from your potting mix like nothing happened.
It gets worse. Females lay eggs inside plant tissue using a needle-like ovipositor. Not on the surface. Inside. No contact spray reaches those eggs. They hatch 2-4 days later whether you treated or not. And thrips can reproduce without needing males. One survivor restarts everything.
So when you spray leaves alone, you're only hitting visible adults and exposed larvae. The eggs inside your leaves keep hatching. The pupae in your soil keep emerging. The cycle continues.
This is why thrips require both foliar AND soil treatment. Miss either target and you're managing the infestation, not eliminating it.
How to Confirm You Actually Have Thrips
Before you go full scorched-earth, make sure you're dealing with the right pest. Thrips damage can look similar to nutrient deficiencies or sunburn at first glance.
The shake test: Hold a piece of white paper under a suspected leaf and tap firmly. Thrips fall onto the paper and appear as tiny dark specks that jump or run quickly. Spider mites would barely move. Fungus gnats would fly away.
The confirmation combo: Silver streaks + black specks = thrips. The black fecal specks are what distinguish thrips damage from everything else.
Damage signs to look for:
- Tiny black fecal specks on leaf undersides (this appears before obvious damage)
- Silvery or bronze streaks with a metallic sheen
- Distorted or curled new growth
- Scarred flower buds
Where they hide: New unfurling leaves (primary target), flower buds, leaf axils, along veins on undersides, curled leaf edges, and the top inch of your potting mix during pupation.
High-risk plants: Aroids (Monstera, Alocasia, Philodendron, Pothos), African violets, orchids, Ficus, palms, and Calathea. If it has tender new growth or flowers, thrips want it.
8 Things You Can Do Today (Before You Buy Anything)
You don't need to wait for a product to arrive to start fighting back. These methods won't eliminate an established infestation alone, but they'll meaningfully reduce the population and buy you time while you get your treatment plan together.
1. Quarantine Immediately
Move infested plants to a separate room, at least six feet from the rest of your collection. Thrips spread through short flights, air currents, and your hands. Every minute an infested plant sits next to healthy ones is a minute thrips are scouting new territory.
2. Give Your Plant a Forceful Shower
A strong stream of lukewarm water from multiple angles physically dislodges adults and nymphs from foliage. Cover the soil surface with plastic wrap to prevent overwatering, angle the showerhead underneath leaves, and be thorough. This is one of the most immediately impactful free methods and is recommended by multiple university extension services as a first-line treatment.
3. Grab the Tape or a Lint Roller
Press sticky tape or a lint roller against both sides of leaves to physically lift off visible thrips and larvae. It sounds tedious because it is. But every adult female you remove represents up to 300 potential offspring that won't happen. Work systematically from top to bottom, pressing firmly into leaf axils and along veins.
4. Prune the Worst Damage
Remove the most heavily infested growth: curled new leaves (thrips hide inside them), spent flowers, and any severely silvered or stippled foliage. Bag it immediately and throw it away. Do not compost.
5. Scrape Off the Top Layer of Soil
Remove and discard the top 1-2 inches of potting mix and replace it with fresh soil. This physically removes pupating thrips near the surface without any chemicals. It won't catch every pupa, but it eliminates a significant chunk of the next generation.
6. Raise Your Humidity
Thrips prefer dry environments. Research published in the Australian Journal of Entomology found that higher relative humidity significantly reduces pupation success. Running a humidifier near infested plants (above 60% RH) or enclosing a treated plant in a clear plastic bag for 24-48 hours creates conditions thrips don't thrive in.
7. Back Off the Fertilizer
Excess nitrogen promotes tender new growth, and tender new growth is what thrips are most attracted to. Scale back fertilizing during active infestations. Your plant won't miss it while it's fighting bugs.
8. Inspect Everything Within Arm's Reach
If one plant has thrips, assume every plant within a few feet needs inspection and probably preventive treatment. Tap leaves over white paper weekly. Use a magnifying glass to check leaf undersides, axils, and unfurling growth. Early detection is the most powerful free tool available.
Why DIY Remedies and Single-Ingredient Sprays Fall Short
If you've been Googling thrips treatments, you've probably seen advice to drench your soil with hydrogen peroxide or coat everything in neem oil. Let's talk about why those approaches have real limitations.
Hydrogen Peroxide: Great for Gnats, Wrong Tool for Thrips
We actually recommend a hydrogen peroxide drench (1:4 ratio of 3% H2O2 to water) as part of our fungus gnat protocol. It works well there because gnat larvae are soft-bodied, actively feeding near the soil surface, and vulnerable to oxidation.
Thrips pupae are a different animal. They're non-feeding, barely breathing, and tucked 1-2 cm into your potting mix. H2O2 reacts with organic matter in soil almost instantly (that fizzing is the peroxide being consumed by peat and bark), so most of it breaks down before it reaches pupae at any meaningful concentration. There's no published research showing it works against thrips soil stages specifically.
If you're dealing with thrips, save the peroxide for a future gnat problem and focus your soil treatment on surface sprays and drenches formulated for pest control, or physical soil replacement.
Why Neem Oil Alone Isn't Enough
Neem oil has legitimate pesticidal properties. Nobody's disputing that. The problem is practical: it's greasy, it smells like garlic left in a hot car, it can clog plant stomata (especially with repeated use), and it has a tendency to burn sensitive foliage if applied in warm or bright conditions.
More importantly, a single active ingredient gives you one mode of action. Thrips are notoriously resilient pests. When your entire approach relies on one compound working in one way, you're leaving gaps that thrips are biologically built to exploit.
Why Peppermint-Only Sprays Plateau
Peppermint oil is an effective insect repellent. Studies confirm it disrupts pest neuroreceptors and deters feeding. But repelling isn't eliminating. A peppermint-only spray can push thrips around without actually breaking the lifecycle. And once the volatile oils evaporate (which happens quickly), the deterrent effect fades.
The pattern with single-ingredient approaches is the same: partial knockdown, temporary relief, then a resurgence a week or two later from the generations you didn't reach.
Why a Triple-Oil Formula Changes the Math
This is where the science gets interesting, and where Perfect Plantista's approach is fundamentally different from what you've probably tried before.
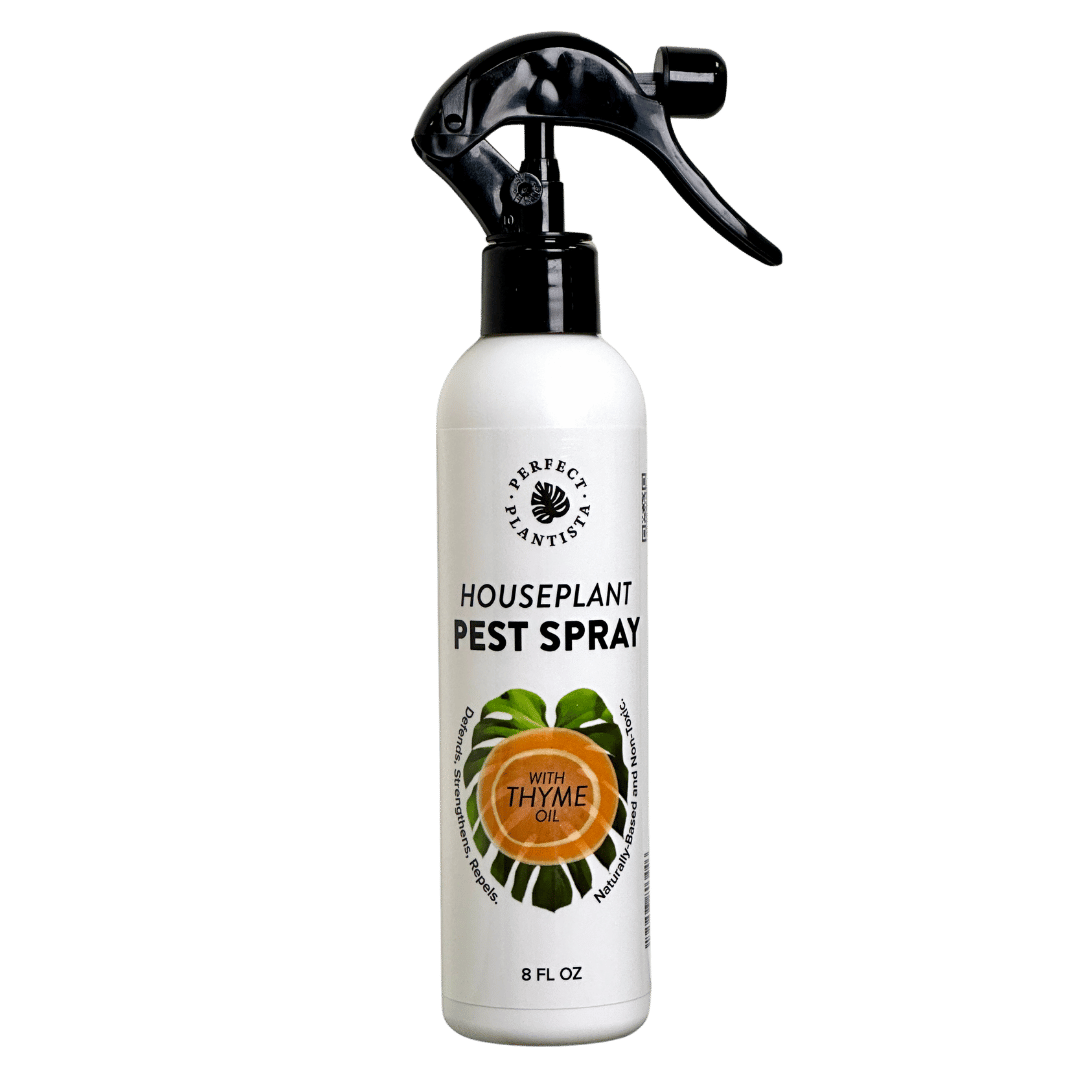
Our Houseplant Pest Spray combines three proven botanical oils, each with distinct, complementary modes of action:
Thyme oil (0.23%) contains thymol, one of nature's most potent broad-spectrum insecticides. Cornell University research confirms thymol's strong insecticidal, miticidal, and fungicidal properties. Studies on Western flower thrips, the most common houseplant species, show near-complete repellency at low concentrations.
Cinnamon bark oil (0.56%) brings cinnamaldehyde and eugenol, compounds with proven antifungal and insecticidal activity documented in peer-reviewed research. Cinnamaldehyde disrupts pest cell membranes on contact, while the antifungal properties help address secondary issues like mold and fungal growth in soil that can attract pests.
Peppermint oil (0.56%) adds menthol's powerful repellent and neurotoxic effects on insects, disrupting feeding behavior and deterring egg-laying on treated surfaces.
In a water-based carrier with castile soap (for even spreading and adherence), this formula coats and smothers thrips without the greasy residue, pore-clogging, or overwhelming smell that single-ingredient solutions leave behind.
The practical difference: three oils means three simultaneous modes of action. Thrips can't easily adapt to multiple attack vectors at once. The formula suffocates on contact, repels through scent, and creates a hostile environment that deters the survivors from feeding and laying eggs.
It also smells like cinnamon and peppermint instead of the garlic-dumpster scent of neem. Which matters when you're spraying in your living room.
The Complete Thrips Treatment Protocol
Here's the step-by-step protocol that actually eliminates thrips. It addresses every lifecycle stage, on both leaves and in soil, with a realistic timeline.
Step 1: Foliar Treatment (Every 7 Days)
- Shake the bottle well before and during use. The oils need to stay mixed.
- Spray all surfaces to light runoff. Tops, undersides, stems, leaf axils, new growth, flower buds. The undersides and unfurling leaves are non-negotiable. If you're not sure you got it, spray again.
- Wait up to 10 minutes. This gives the oils time to coat and smother thrips on contact.
- Wipe everything. Use a damp cloth to physically remove thrips, larvae, and residue. The spray smothers them. Wiping removes them.
- Repeat every 7 days until you've had 3-4 consecutive clear checks with zero thrips, zero black specks, and zero new silvery damage.
Step 2: Soil Treatment (This Is Non-Negotiable)
If you skip this step, you'll be back here in two weeks wondering why thrips returned. The soil is where pupae hide, and it's the gap that most treatments miss entirely.
Surface spray: Lightly mist the top inch of soil 2-3 times per week for at least 2 weeks. This targets pupating thrips near the surface and deters adults from the soil.
Soil drench (for heavier infestations): Mix 15-30ml of spray per gallon of water. Apply to moist soil (never dry), saturating the top 2-3 inches. Repeat every 2-3 weeks.
Physical removal (free and immediate): Remove and discard the top 1-2 inches of potting mix. Replace with fresh soil. This eliminates pupae without any product at all.
For severe infestations, combine all three. Light surface sprays between weekly foliar treatments, plus a soil drench every 2-3 weeks, plus soil replacement at the start.
Step 3: Isolate and Monitor
Thrips spread through short flights, air currents, and your hands. During treatment:
- Keep infested plants away from your main collection
- Check every nearby plant weekly using the white paper shake test
- Wash hands after handling infested plants
- Place blue sticky traps near plants to catch adults and monitor population trends
How Long This Actually Takes (Honest Timeline)
| Situation | Expected Duration |
|---|---|
| Caught early, few plants | 3-4 weeks |
| Established infestation | 6-8 weeks |
| Orchids, succulents, CAM plants | 8-10 weeks (treat every 10-14 days only, rinse thoroughly) |
Why it takes this long: The 2-3 week thrips lifecycle means you need weekly treatments to intercept each new generation. Eggs embedded inside plant tissue keep hatching for weeks after you start. Stopping early is how people end up posting "thrips AGAIN?!" a month later.
Why It Gets Worse Before It Gets Better
You're not imagining it.
Eggs embedded in plant tissue continue hatching for days after your first treatment. Pupae already in soil emerge as fresh adults. You killed the visible population, but the hidden generations were already developing before you started.
This is completely normal. It does not mean treatment isn't working. It means you caught the infestation mid-cycle and the pipeline is still draining.
Continue weekly treatment. The apparent "resurgence" is the final waves emerging into a hostile environment. Stay consistent and you'll see visible improvement after 2-3 treatments, with complete elimination following the timelines above.
The 6 Most Common Mistakes That Keep Thrips Coming Back
1. Only spraying leaves. This is the number-one failure. Pupae in your potting mix keep emerging as fresh adults no matter how thoroughly you spray foliage. Soil treatment is not optional.
2. Stopping too early. Eggs inside tissue keep hatching for weeks. Two treatments isn't enough. Continue until you've had 3-4 consecutive weekly checks with zero signs.
3. Missing the hiding spots. Unfurling new growth, flower buds, leaf axils, curled leaf edges. Thrips exploit every crevice. Be thorough or don't bother.
4. Inconsistent timing. The lifecycle means weekly spraying is the minimum frequency. Miss a week and you've given an entire generation time to reproduce undisturbed.
5. Spraying in direct light. Oil-based sprays can cause leaf burn under grow lights or afternoon sun. Spray in early morning or evening. Keep treated plants out of direct light for 6-12 hours until completely dry.
6. Mixing products. Don't combine sprays. Mixing products can damage plants and reduce effectiveness of both. If you want to use systemic granules alongside a contact spray, that's fine since they work differently. But don't layer contact treatments. Wait at least 7 days before switching approaches.
Special Instructions for Orchids and Succulents
CAM plants (orchids, succulents, cacti) are more sensitive to oil-based sprays because their stomata function differently. They need a gentler cadence:
- Apply in early morning only
- Let the spray sit for up to 10 minutes, then rinse thoroughly with room-temperature water
- Treat every 10-14 days maximum (not weekly)
- Focus on soil treatment between foliar applications
- Always spot-test one leaf first and wait 24-48 hours before full application
The treatment takes longer with CAM plants (8-10 weeks), but it works. Patience here protects the plant while still breaking the thrips cycle.
Not Sure How Much Product You Need or Exactly How to Use It?
Every collection is different. The number of plants, the severity of the infestation, whether you're dealing with sensitive species, and whether you want ready-to-use spray or concentrate all affect your treatment plan.
That's why we built a free, fully customized treatment plan that tells you exactly what to buy, how much you need, and gives you a week-by-week protocol specific to your plants.
Click here to the 2-minute quiz and get your personalized thrips treatment plan.
No email required. No catch. Just a clear plan you can start today.
Quick Reference Card
| Foliar treatment | Spray all surfaces (especially undersides and new growth), wait up to 10 minutes, then wipe. Every 7 days. |
| Soil treatment | Surface mist 2-3x per week AND/OR drench every 2-3 weeks (15-30ml per gallon) |
| Duration | 3-4 weeks minimum; 6-8 weeks for established infestations |
| Prevention | Every 2-3 weeks after elimination |
| CAM plants | Every 10-14 days only, rinse thoroughly, morning applications |
| Environment | Isolate infested plants, use blue sticky traps for monitoring |
FAQ
Do I really need to treat the soil? Yes. Thrips larvae drop from foliage and pupate in the top inch of potting mix. Skip soil treatment and fresh adults keep emerging days after your "successful" foliar spray. This is the single most common reason thrips treatments fail.
Is the spray safe for my pets? Yes, once dry. The formula uses plant-based essential oils (thyme, cinnamon, peppermint) that are safe for cats and dogs after the spray has dried and the scent has cleared. Treat in a ventilated area, wipe after application, and let dry before pets return. Do not spray pets directly.
Will this burn my plants? Not when used as directed. The formula contains no alcohol or harsh solvents. Spray in early morning, avoid direct light for 6-12 hours until dry, and always spot-test sensitive plants first. CAM plants (orchids, succulents) need the gentler 10-14 day cadence with a thorough rinse after treatment.
Why are there MORE thrips after I started treatment? Eggs already embedded inside plant tissue keep hatching. Pupae already in soil keep emerging. You killed the visible population, but hidden generations were already developing. This is normal and expected. Continue weekly treatment to break the cycle.
Can I use hydrogen peroxide to kill thrips in the soil? It's a useful tool for fungus gnats, but not the right fit for thrips. Thrips pupae are non-feeding and buried in the potting mix, and peroxide breaks down too quickly in organic soil to reach them effectively. For thrips soil stages, you'll get better results from surface sprays with a pest-control formula, soil drenches, or simply replacing the top 1-2 inches of soil.
How long until I see results? Visible thrips should decrease noticeably after 2-3 treatments. Complete elimination takes 3-4 weeks for early infestations, 6-8 weeks for established ones. You'll know it's working when new growth emerges clean for 3-4 consecutive weekly checks.
Can I mix this with neem or other treatments? Don't combine sprays. Mixing products can damage plants and reduce effectiveness of both. If you want to use systemic granules alongside, that's fine since they work differently. But don't mix this with neem, alcohol, or other topical treatments. Wait at least 7 days before switching approaches.
How do I prevent thrips from coming back? Quarantine new plants for 3-4 weeks before introducing them to your collection. Inspect purchases by tapping leaves over white paper. After eliminating an active infestation, continue preventive spraying every 2-3 weeks. Keep blue sticky traps near susceptible plants as early warning. And dial back the nitrogen during vulnerable periods.
How often do I actually need to spray? During active infestation: every 7 days for foliar treatment, plus soil surface misting 2-3 times per week. After elimination: every 2-3 weeks for prevention. The 2-3 week thrips lifecycle means weekly treatment is the minimum frequency to intercept each generation.
The Math on Multiple Plants
Thrips spread. If one plant has them, assume everything within a few feet needs inspection and probably preventive treatment.
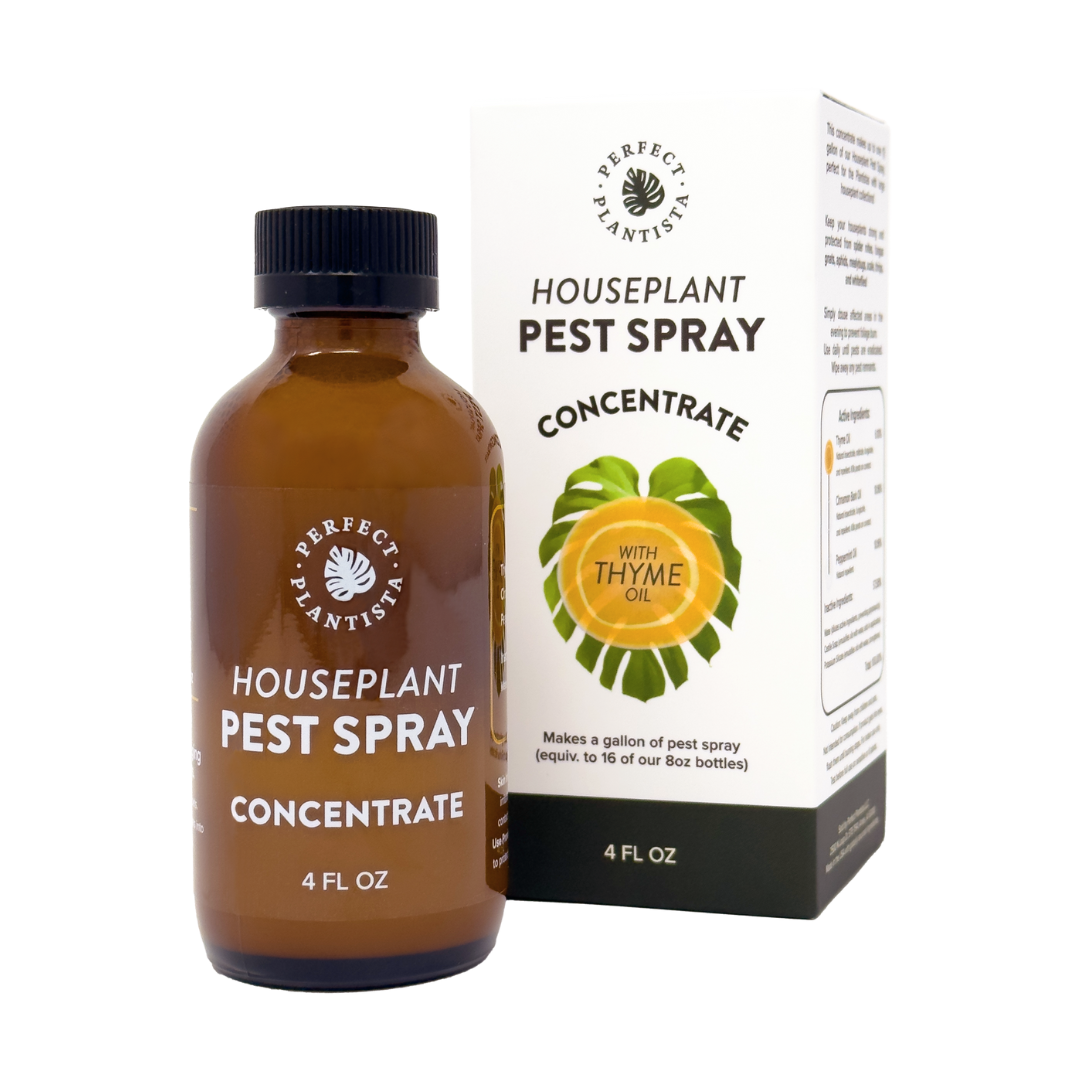
Proper elimination means treating leaves thoroughly AND soil consistently, for 3-4 weeks minimum. If you're treating more than a few plants, the Concentrate Starter Kit makes the math work: one 4oz bottle makes up to 16 bottles of 8oz spray or 8 bottles of 16oz. That's enough for the full thrips protocol, foliar and soil, with plenty left for prevention.
[Shop the Concentrate Starter Kit] | [Shop Ready-to-Use Spray]
Your plants didn't ask for thrips. Neither did you. But now you have a plan that addresses every lifecycle stage, not just the ones you can see. Consistent treatment, both leaves and soil, is what separates the people who beat thrips from the people who fight them forever.
And if you want a personalized plan that tells you exactly what to buy and how to use it for your specific collection, take the free treatment plan quiz above. It takes two minutes and it'll save you weeks of guessing.